Flower Power
Integrating flowers, plants and herbs into iobroker. The goal of this project is to gather additional information about the plants and preparing the ground for a fully autonomous water delivery


Hardware, OS install and configuration
For collecting the data I will go with a Xiaomi Mi Flora Monitor.
This little device is able to collect the following data:
- Temperature
- Light
- Fertility
- Soil moisture
With this information and the local weather forecast it should be possible to determine when to water and fertilize the plants.
This Sensors deliver the data over BLE (Bluetooth low Energy).
My iobroker is running in a hyper-v vm located in the basement, so I need a solution to deliver the data.
In my research I found this GitHub project:
miflora-mqtt-daemon
This daemon is able to collect the data from the sensors and deliver it over mqtt to the iobroker instance.
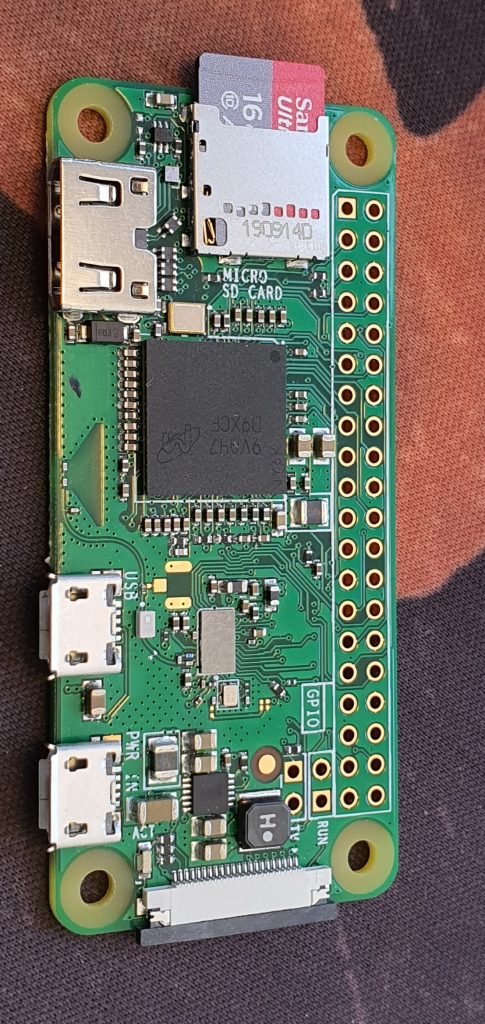
I ordered a Raspberry Pi Zero W and a small SD Card.
Last step is to build a water resistant case and find a solution to deliver the required power.
Build
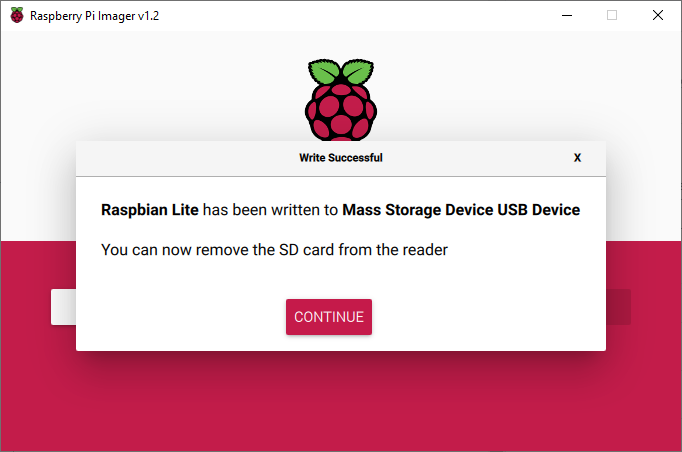
First thing is to install an OS on the SD Card. To keep it simple the Raspberry Pi Imager is used.

To reduce the workload I decided to go for a minimal image without a GUI.

Make it Headless
As I don’t want to attach a monitor and a keyboard now, it is time to modify some files on the SD Card.
On a Windows System we have only access to the boot partition

First we need to make sure, that the Pi can connect to a Wifi AP.
To achieve this, a file called “wpa_supplicant.conf” is needed with the following content:
country=DE
ctrl_interface=DIR=/var/run/wpa_supplicant GROUP=netdev
update_config=1
network={
ssid="NETWORKNAME
psk="PASSWORD
}
You have to change ssid, psk and country to your needs.
The second change is to enable ssh at boot.
This is an easy one, we just need to place a file called ssh on the boot partition.

Please take care, that no .txt extension is applied.
Time to fire things up
Connect Power to the USB Port of the Pi and wait.
The first boot will take a bit longer because of some one time tasks, like extending storage.
After a few minutes, we can now try to locate the Pi on the network.
First attempt is to look in the DHCP leases and try to locate a new one:

Or if you don’t have control over the DHCP use an other wireless client to scan the network.
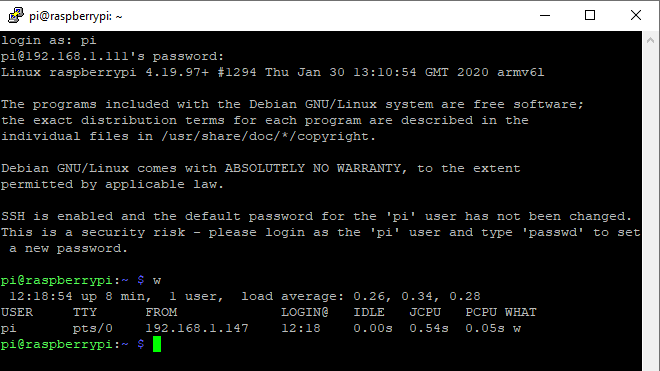
Now we are ready to test a ssh session:


Configuration changes
This is not my only Raspberry Pi, so important for me is a new host name and a german keyboard.
All this Settings can be found in raspi-config:
sudo raspi-config
Prepare for project implementation
Now it is time to do, what you always have to do with new devices.
Install Updates.
sudo apt-get update
sudo apt-get upgrade
Now following the information for miflora:
sudo apt install git python3 python3-pip bluetooth bluez
This will install all the required packages.
sudo pip3 install -r requirements.txt
Installs some python modules. This is a little tricky, because the version of btlewrap is to new:

To fix this we have to downgrade the version using:
sudo pip3 install btlewrap==0.0.8
Now it is time to clone the git repo.
cd
git clone https://github.com/ThomDietrich/miflora-mqtt-daemon.git miflora-mqtt-daemon
Where is my device?
Ok now we need to know a little bit more about our Sensor.
This BLE device is not picky, it talks to everyone in range (About 10m)
We just have to know its unique address (MAC)
Running hcitool scans the surroundings of our Pi and tries to find devices:

Maybe I should not buy so much electronic stuff 🙂
As you can see we found our Sensor and its address.
Changes in iobroker
In order to receive sensor data we have to ins tall the mqtt adapter in iobroker:

One click on the + icon for MQTT Broker/Client will do the trick.
After the installation finished, a configuration page shows up:

We have to set username and password here.
We need this information in the next step.
Exit with save and close.
Final configuration
Now that we have everything, that is needed, we can start making some changes to the configuration of the daemon.
First copy the example configuration file and take a look at it.
cp miflora-mqtt-daemon/config.{ini.dist,ini}
vim miflora-mqtt-daemon/config.ini
Lets take a short look at every section an what to change.
[General]
looks good
[Daemon]
I adjusted the period to 600 (10 Minutes), with the intention to save some battery.
[MQTT]
hostname = Is the IP or DNS entry for our iobroker instance.
port = Only if you changed it in iobroker
username= as set in iobroker
password= as set in iobroker
[Sensors]
This is the interessting part. We have to add our sensor here with the collected address.
Strawberry = C4:7C:8D:6B:06:92
First part is a friendly name and the second part is the MAC address
A last test please
Time to start a test run:
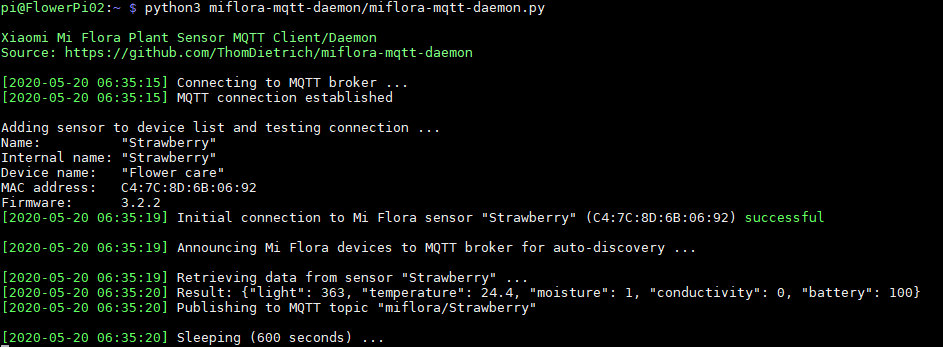
python3 miflora-mqtt-daemon/miflora-mqtt-daemon.py

We can see that everything runs fine.
The connection to the mqtt-broker instance is sussessfull and the state is created in iobroker:

the data should look like this:
{“light”: 363, “temperature”: 24.4, “moisture”: 1, “conductivity”: 0, “battery”: 100}

